4. Bridge your first ETH
1. Choose a Bridge
Transacting directly on Ethereum can be expensive due to high gas fees that often increase with network traffic. Fortunately, Layer 2 solutions offer the capability to process more transactions at lower fees while benefiting from Ethereum's security. Many popular dApps for NFTs and DeFi are already building on these Layer 2 solutions.
One straightforward method to transfer your ETH for spending on a Layer 2 network is by using a bridge.
- Select a Layer 2 network you wish to bridge your ETH to, such as:
- Connect your wallet to the Bridge user interface:
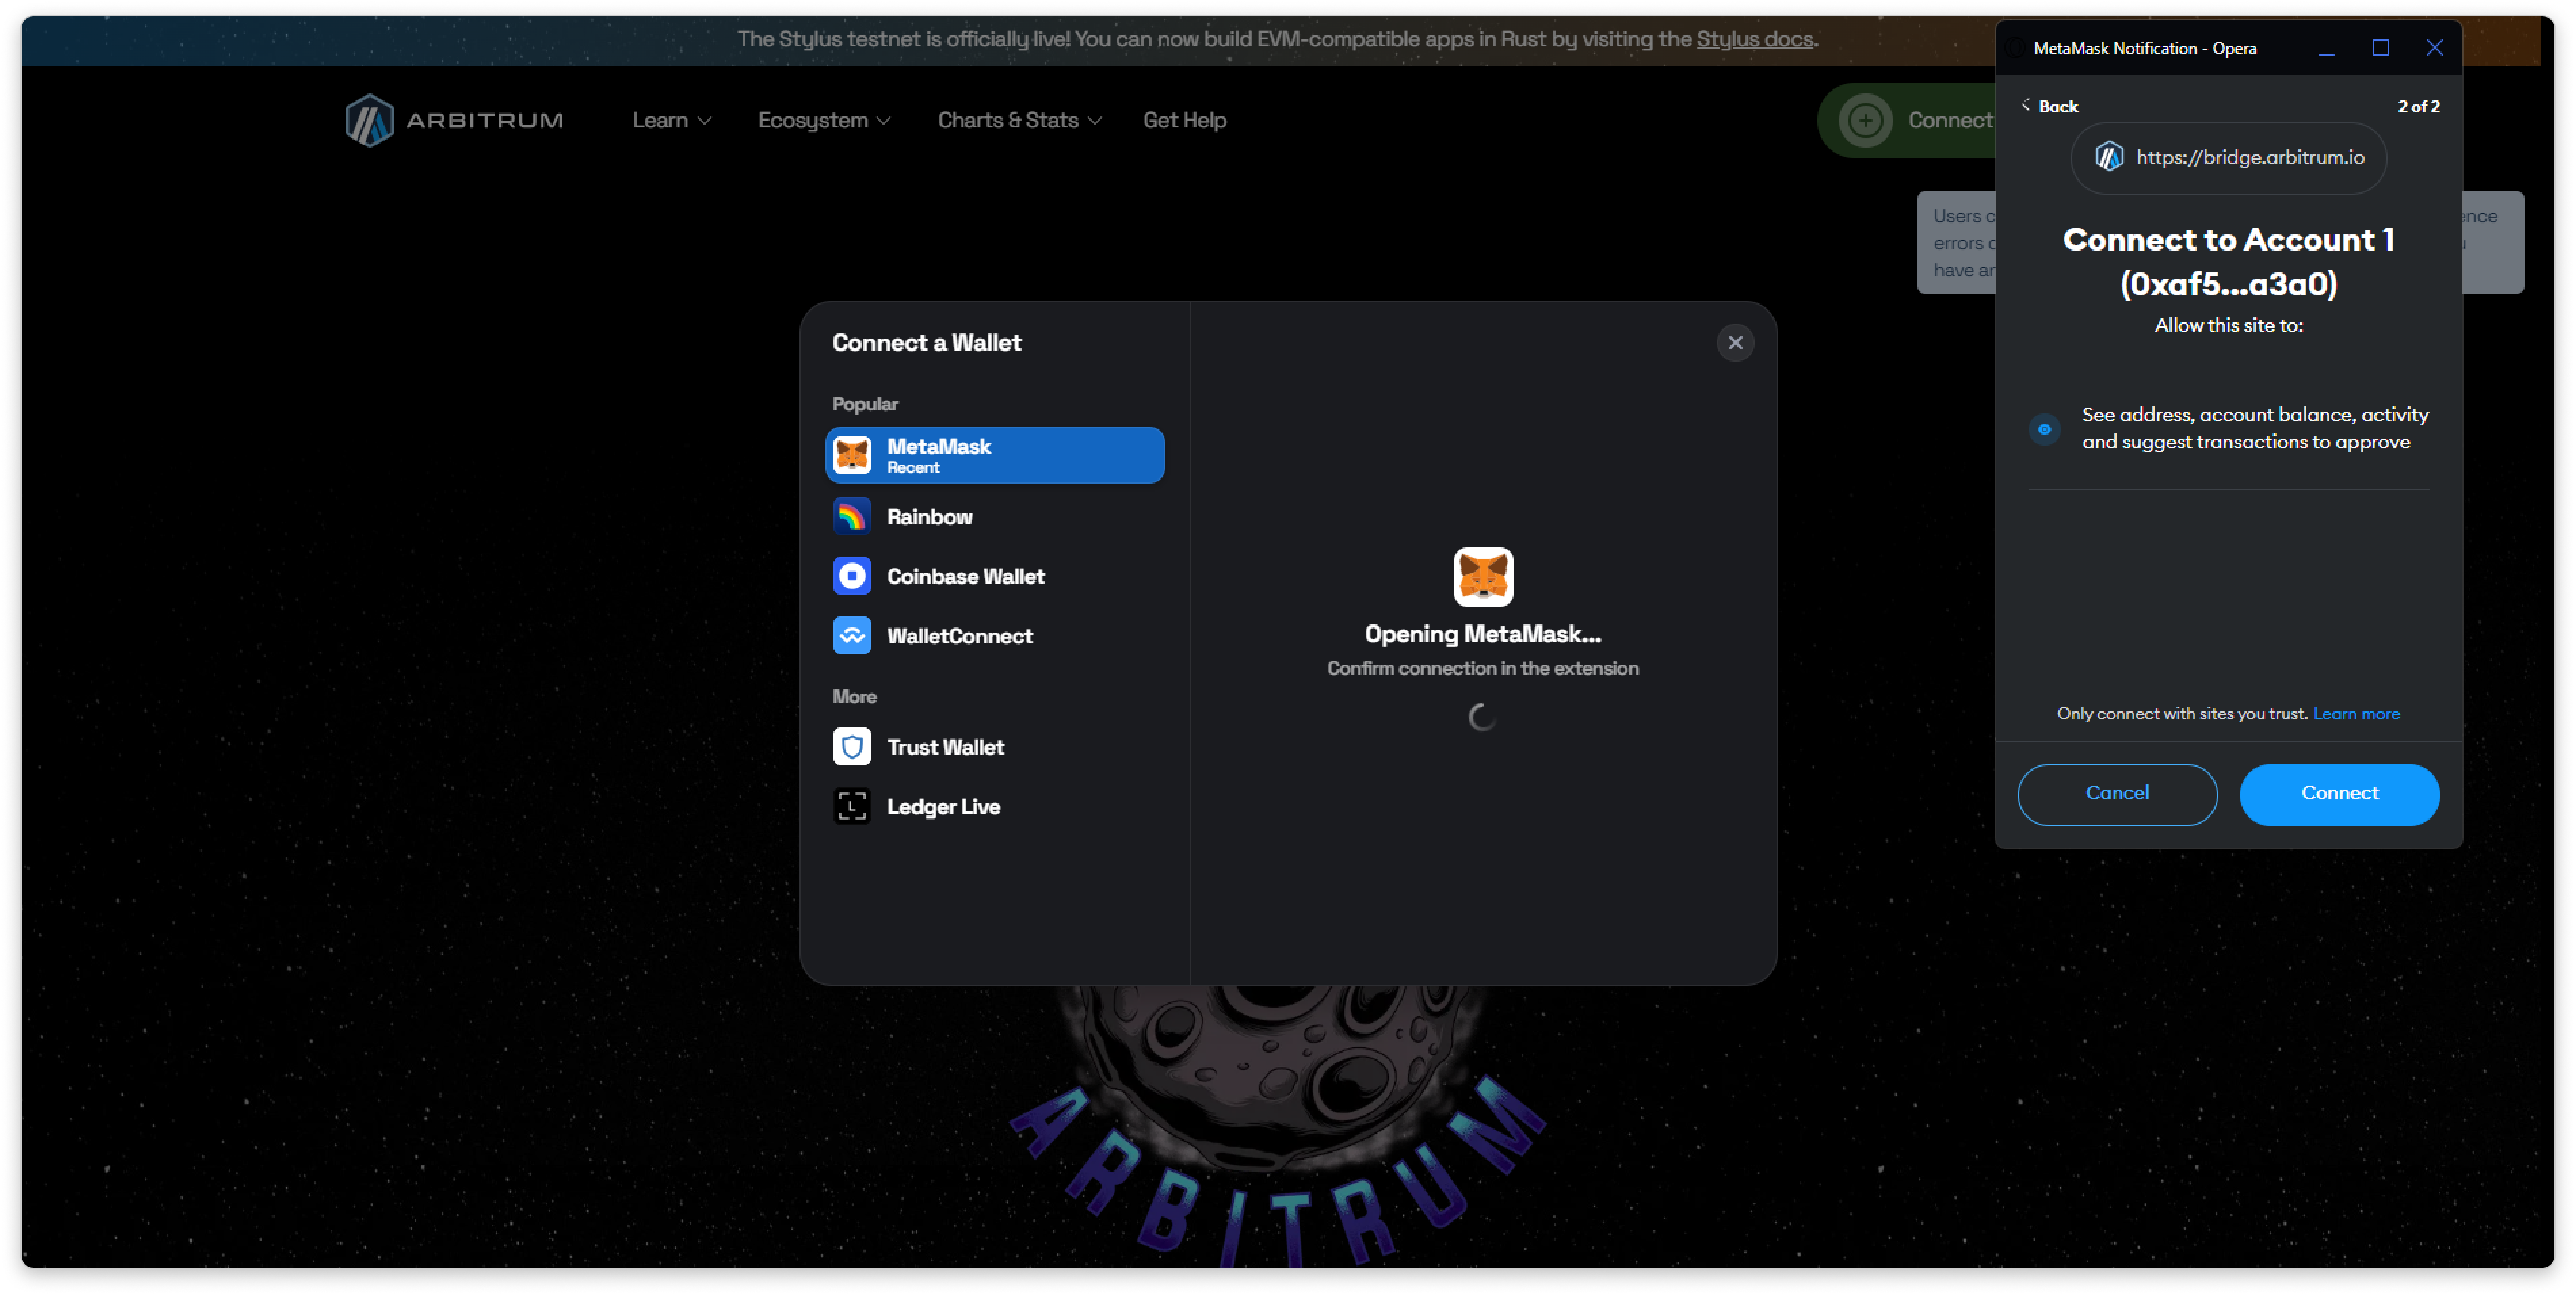
- Enter the amount you wish to bridge from the Ethereum mainnet. Review the amount you will receive on the Layer 2 network and the associated processing fees. Then, confirm the transaction using MetaMask.

2. Review Bridged Transaction
To keep track of the status of your bridged ETH, you can view it on Etherscan. Here's how:
- Open Metamask.
- Click on the three dots menu (ellipsis icon).
- Select 'View on explorer.'

After clicking, you will be directed to your address page on Etherscan. Next, click on the latest transaction hash you made.
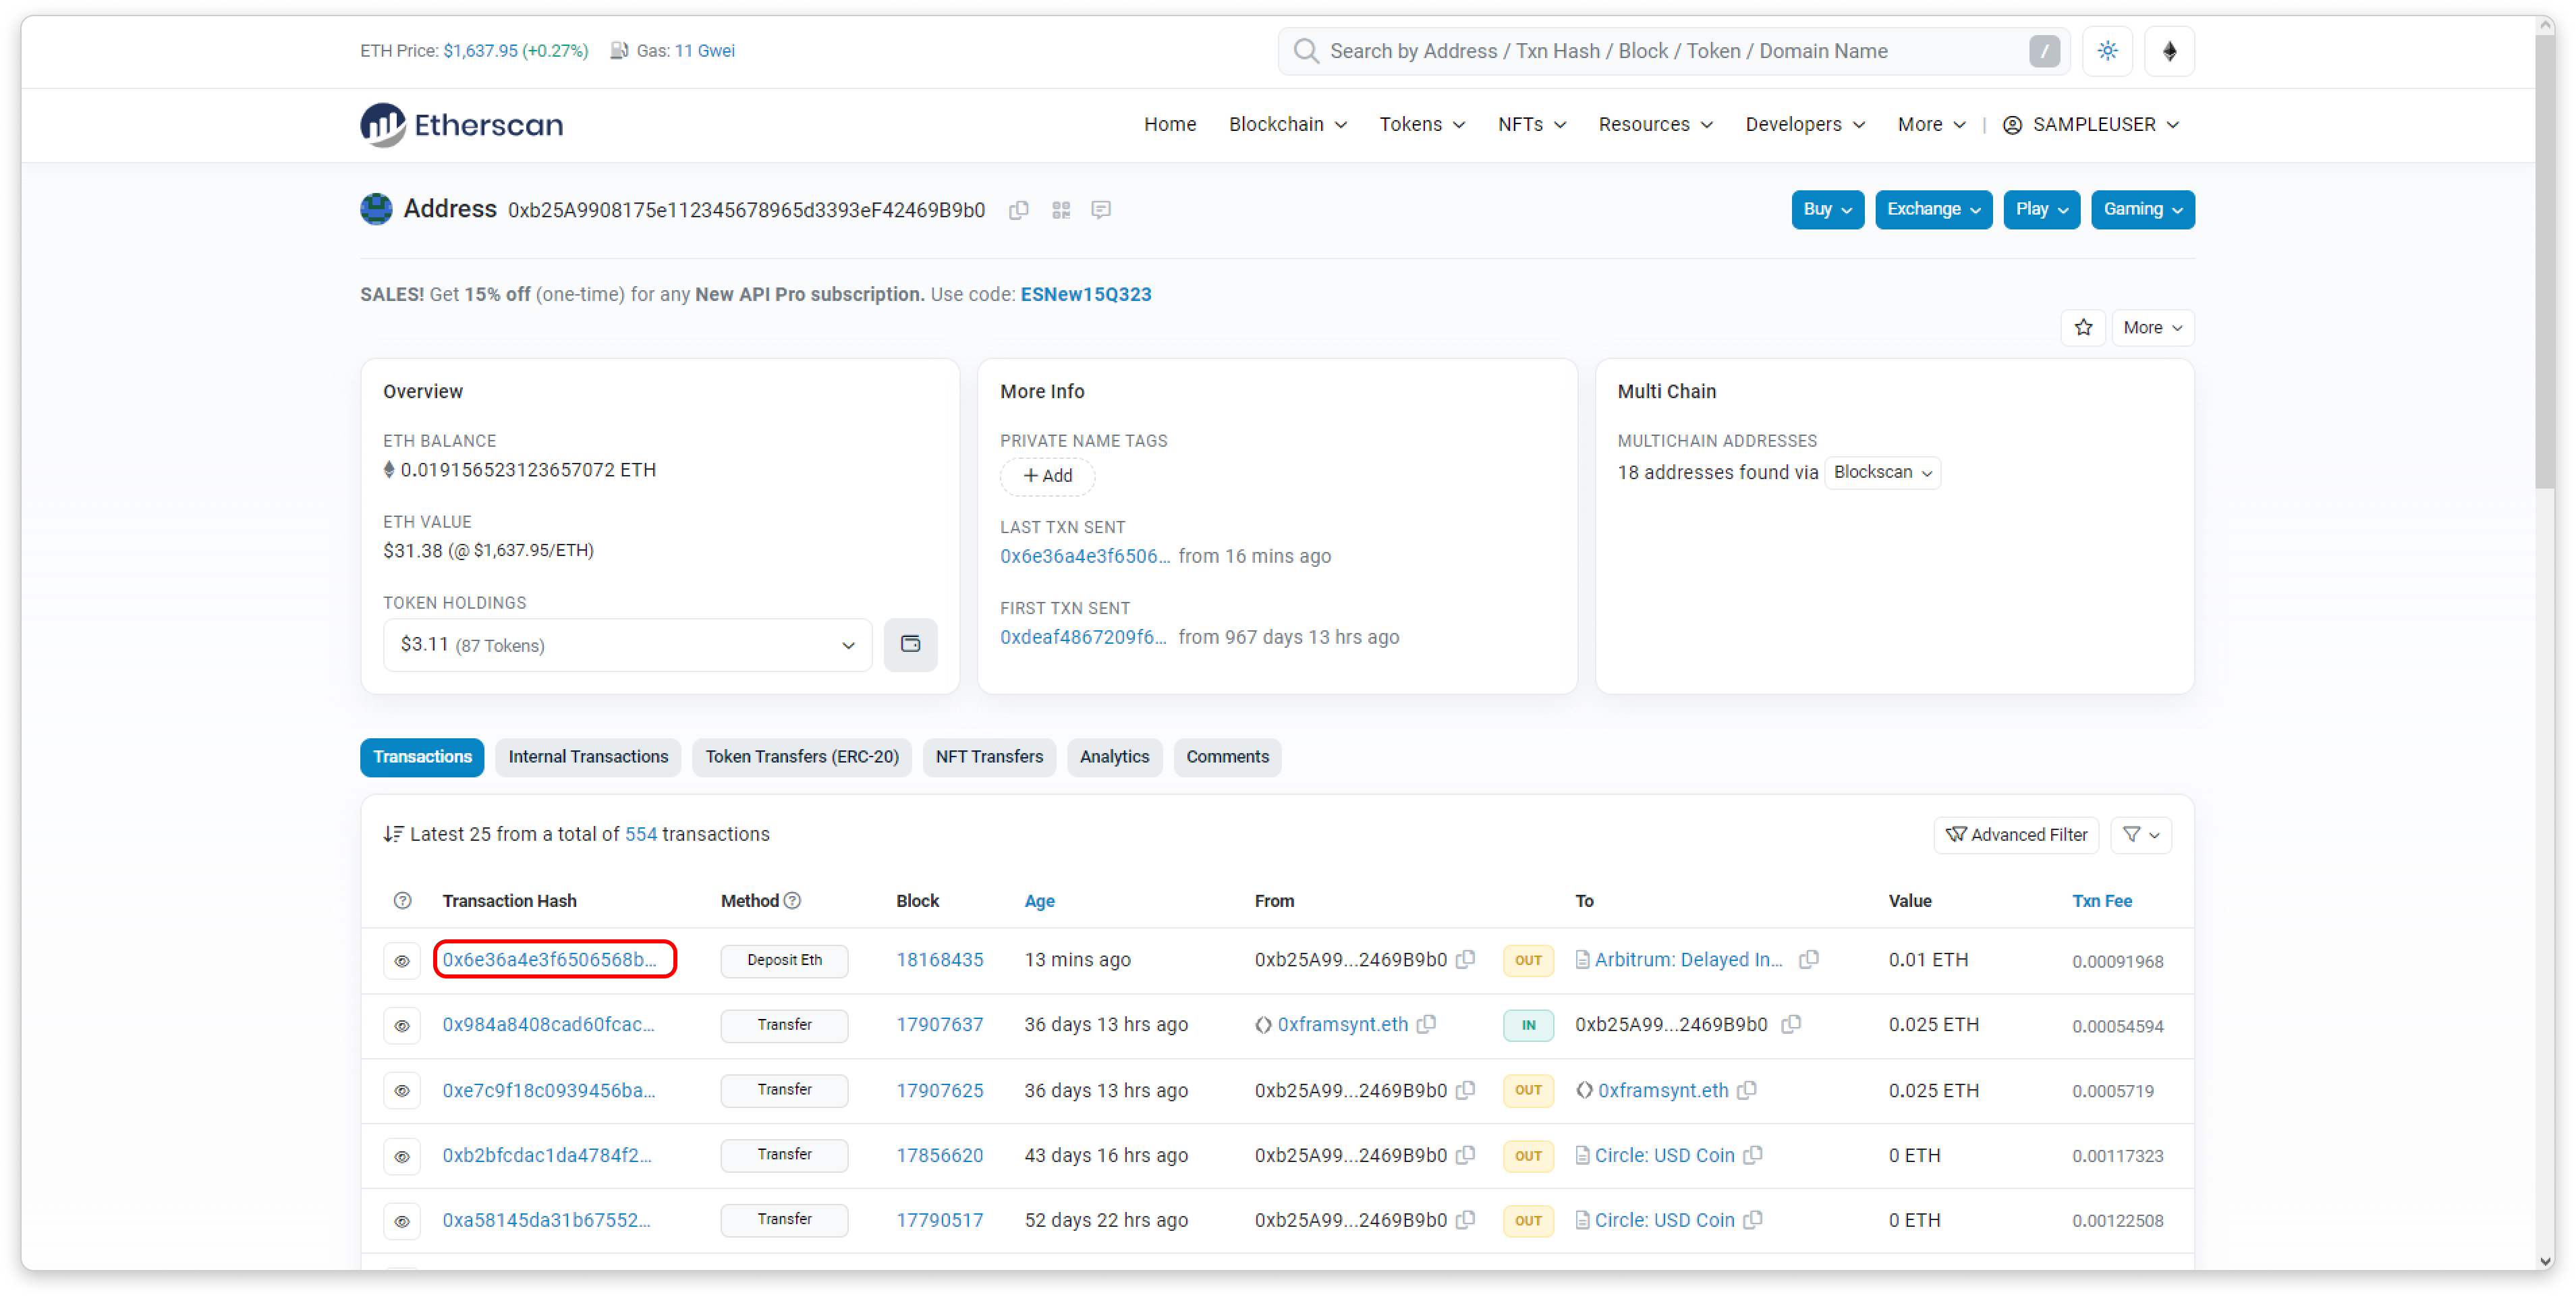
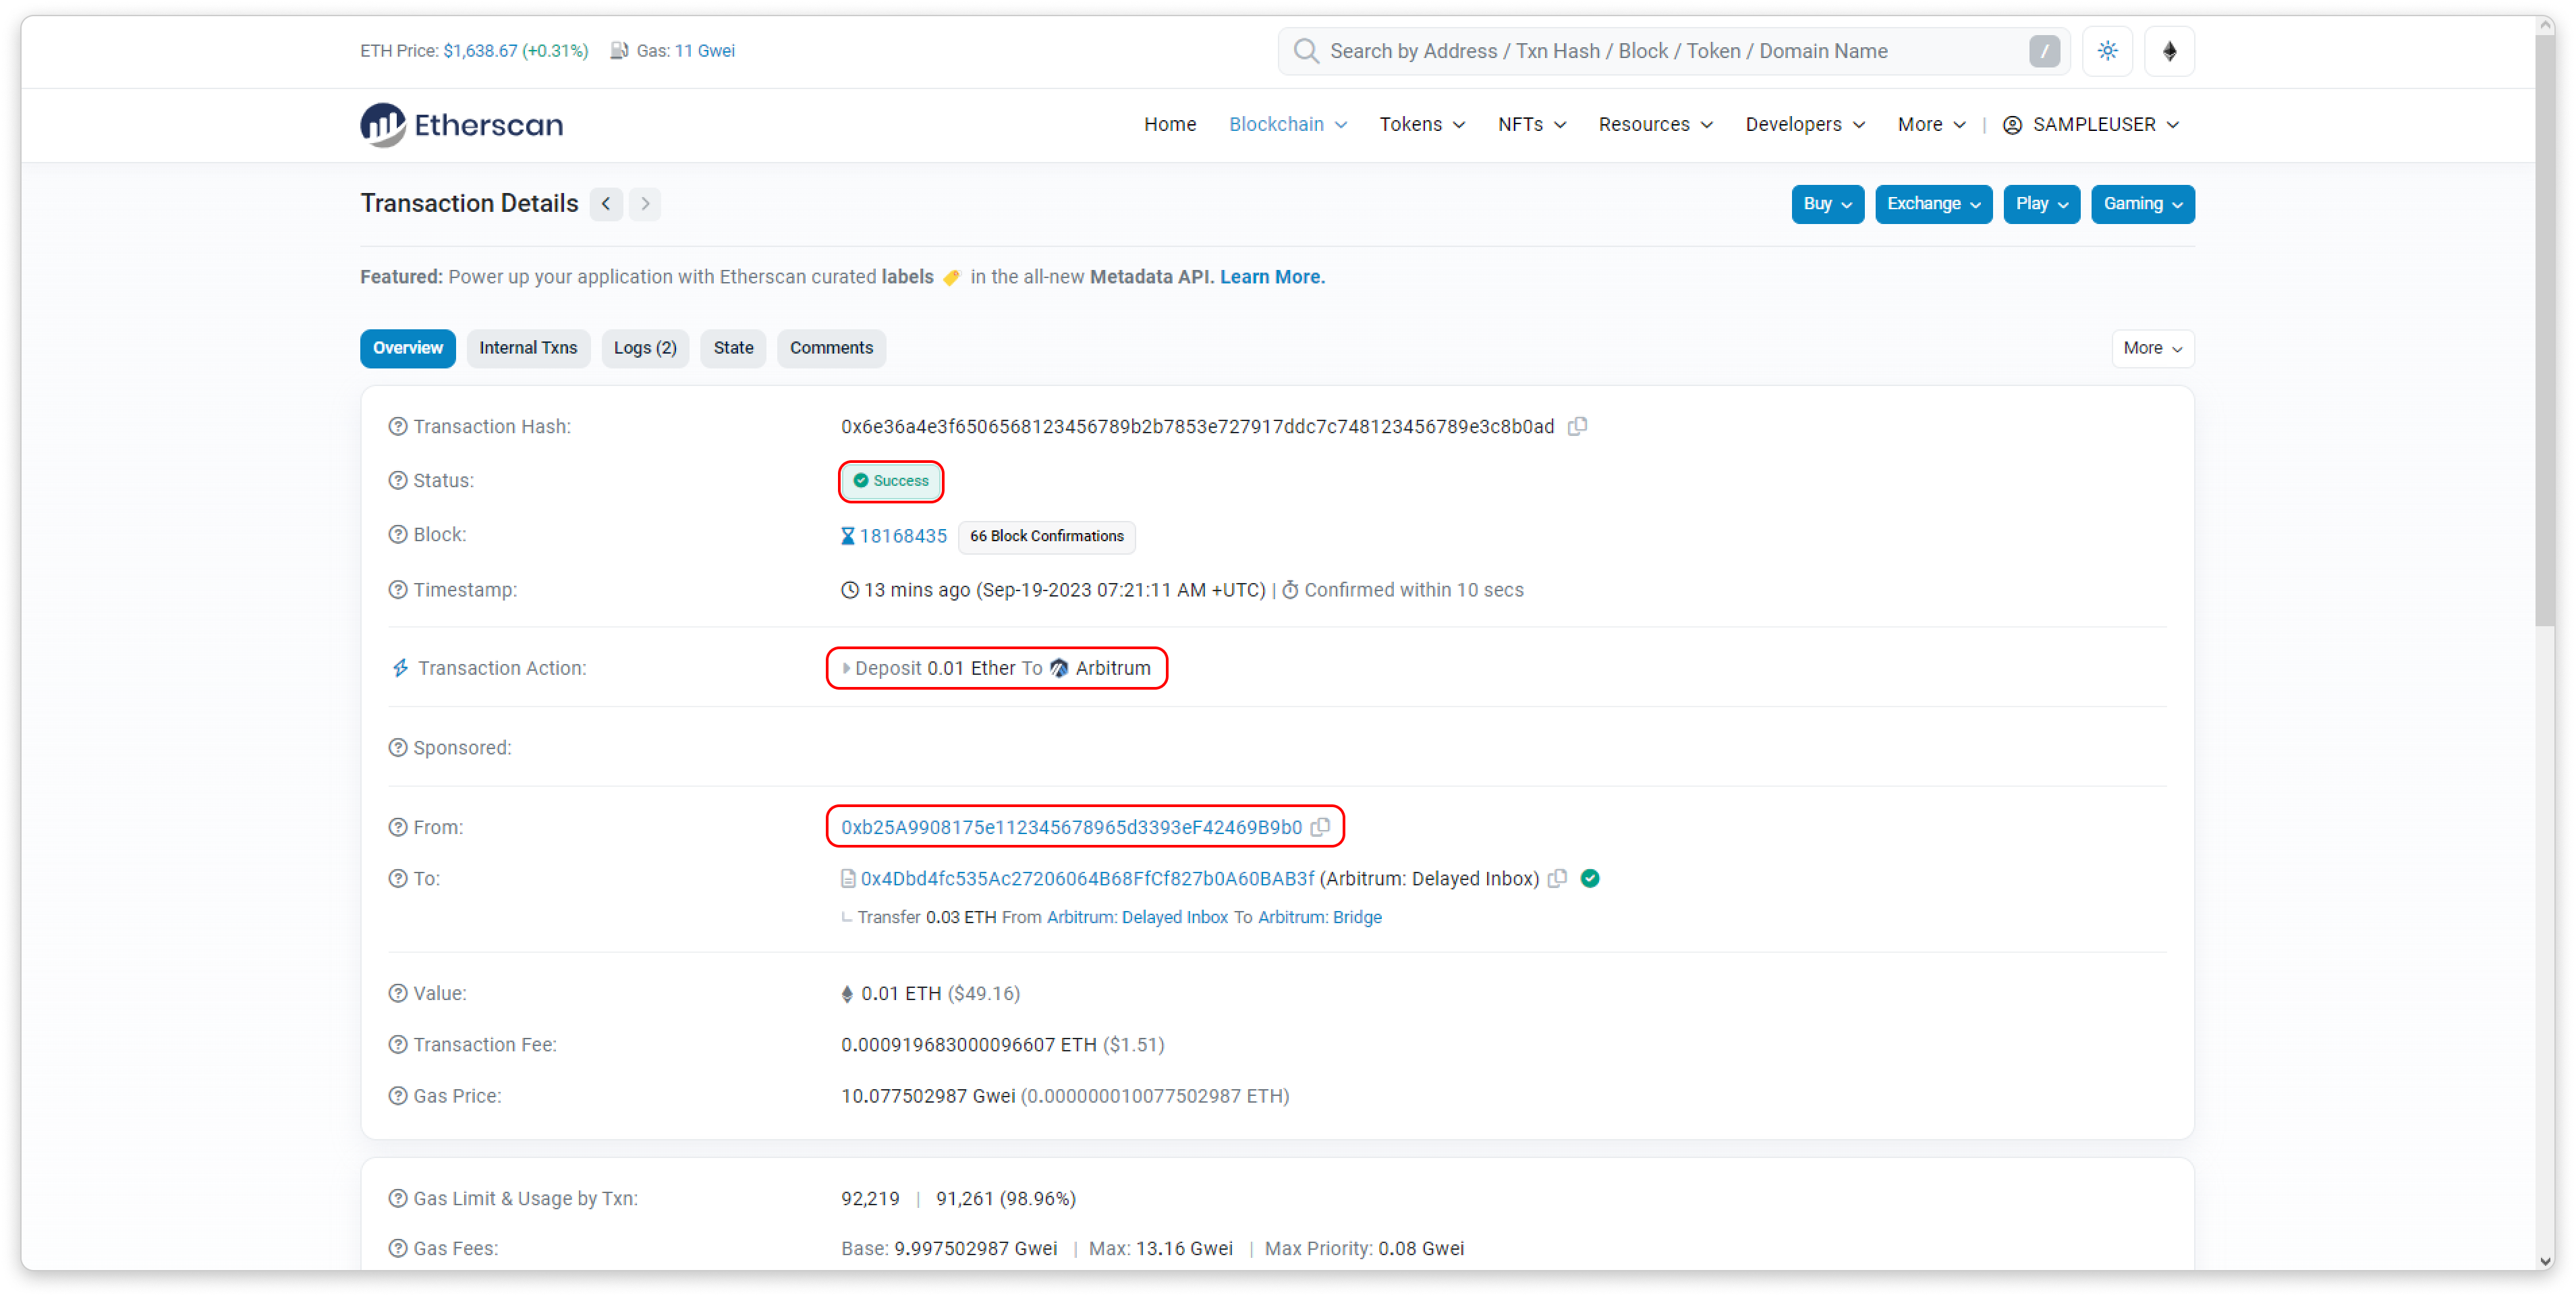
In the transaction details, you'll find:
- The status of bridged ETH from Ethereum.
- The amount of ETH bridged over to the Layer 2 network.
- The Ethereum address that initiated the bridging.
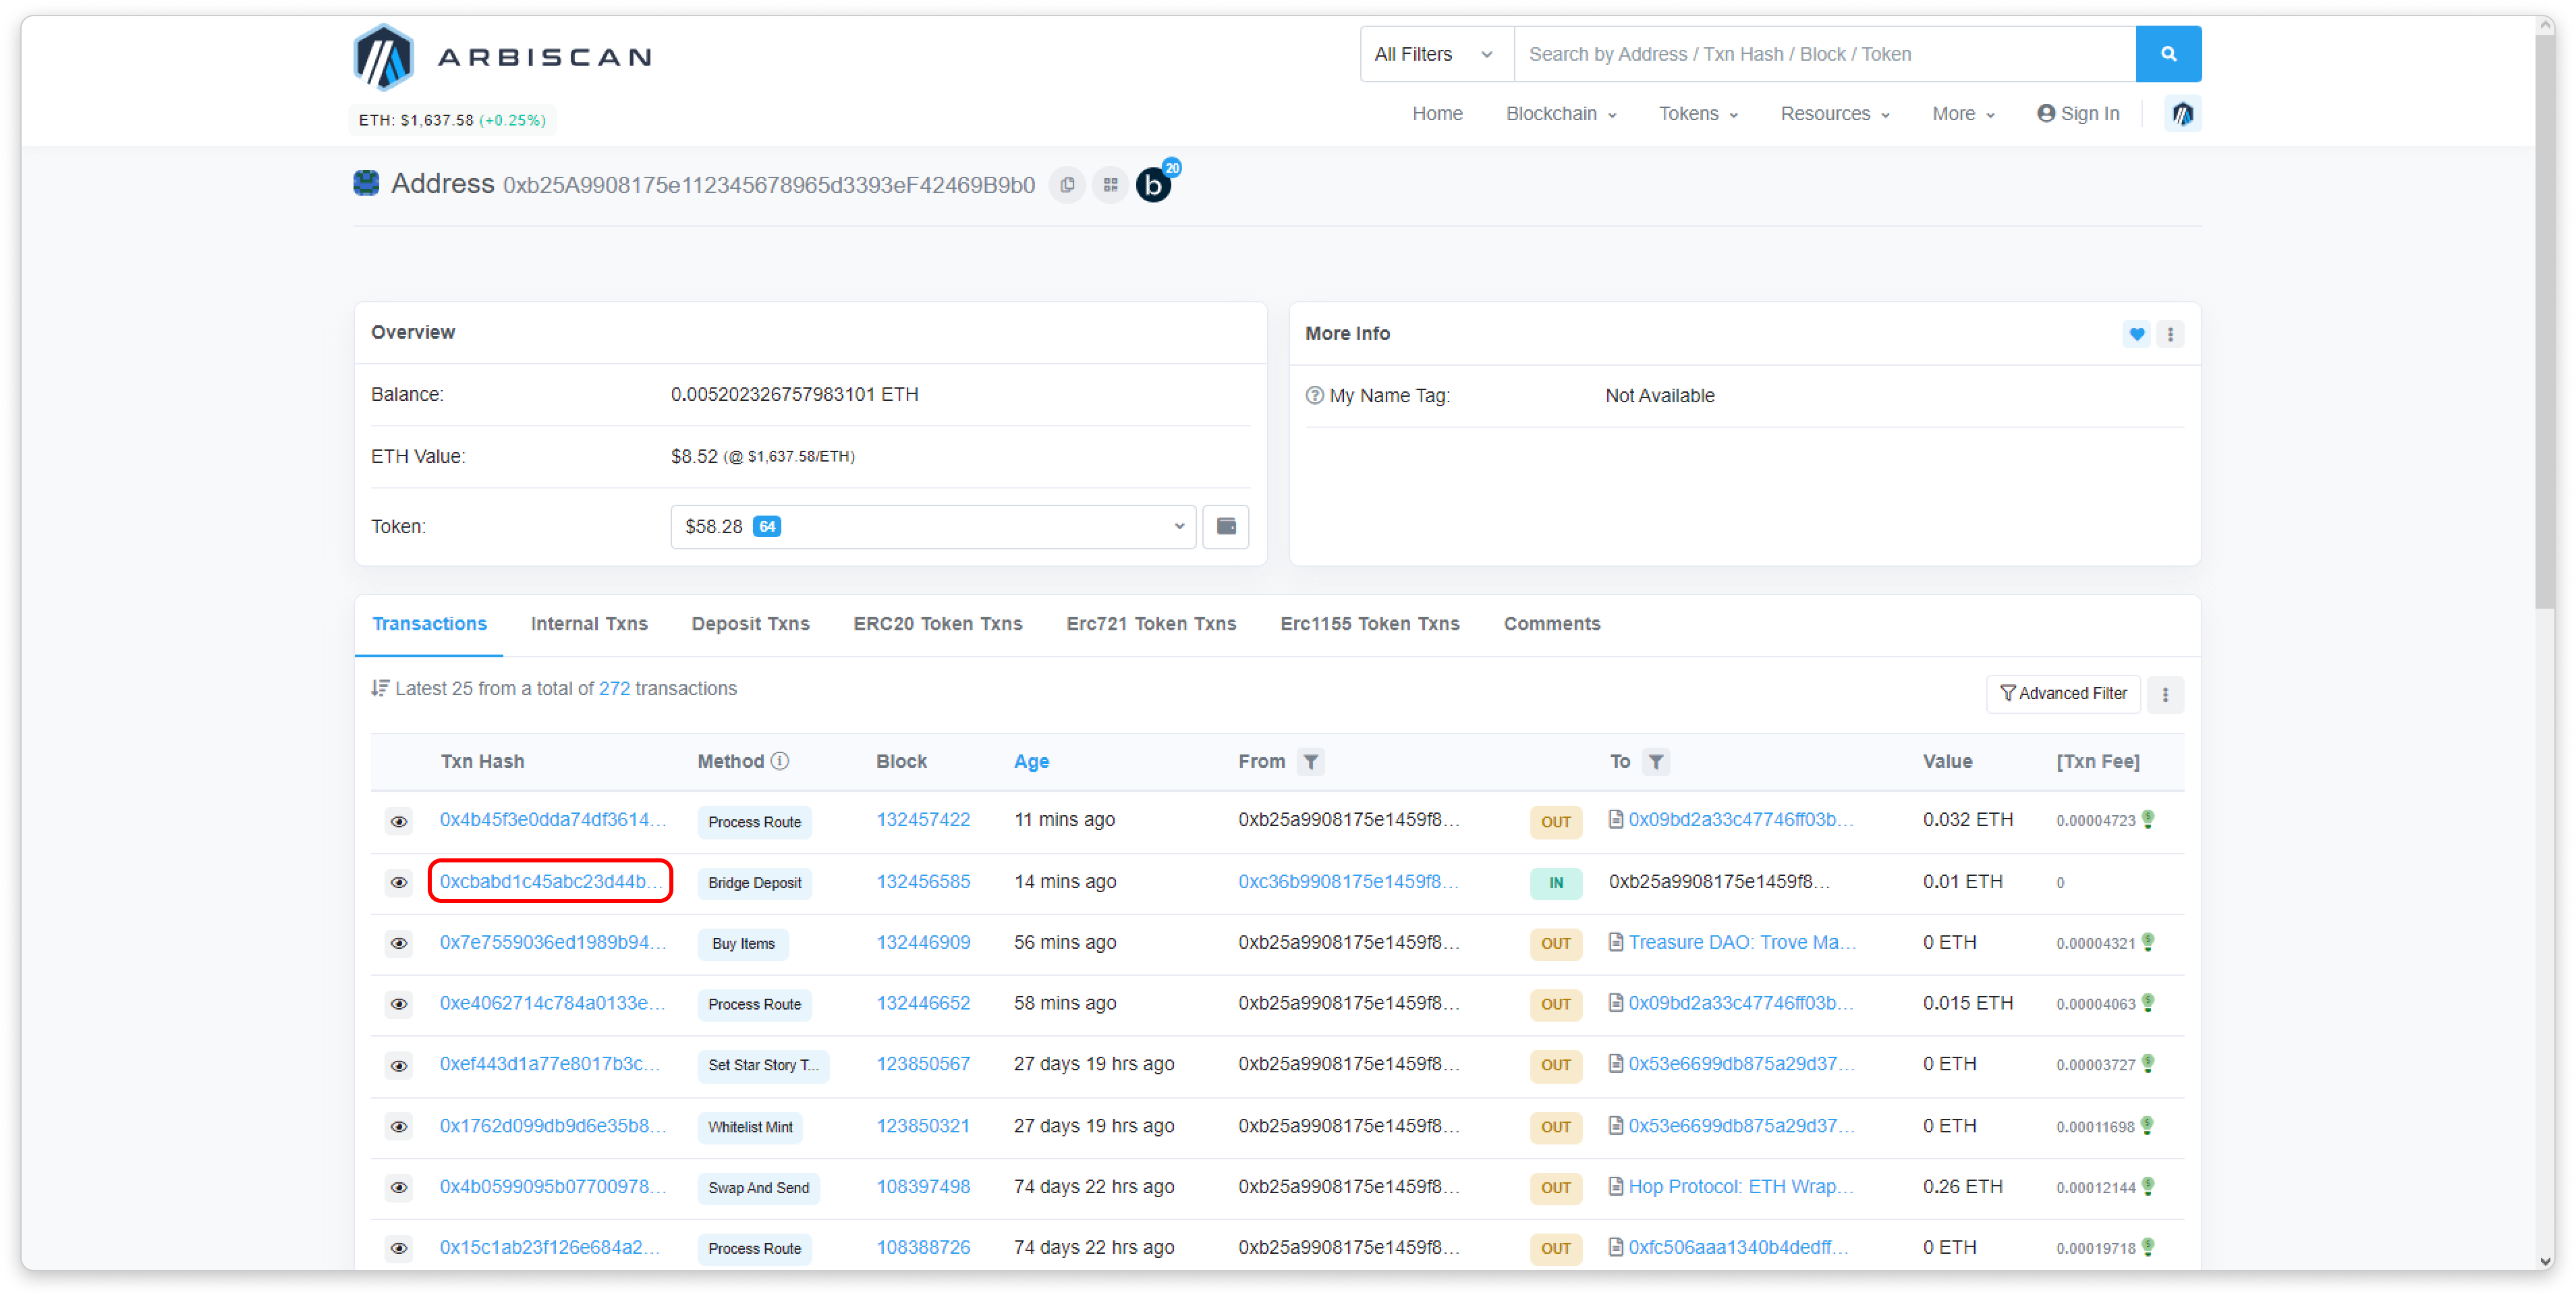
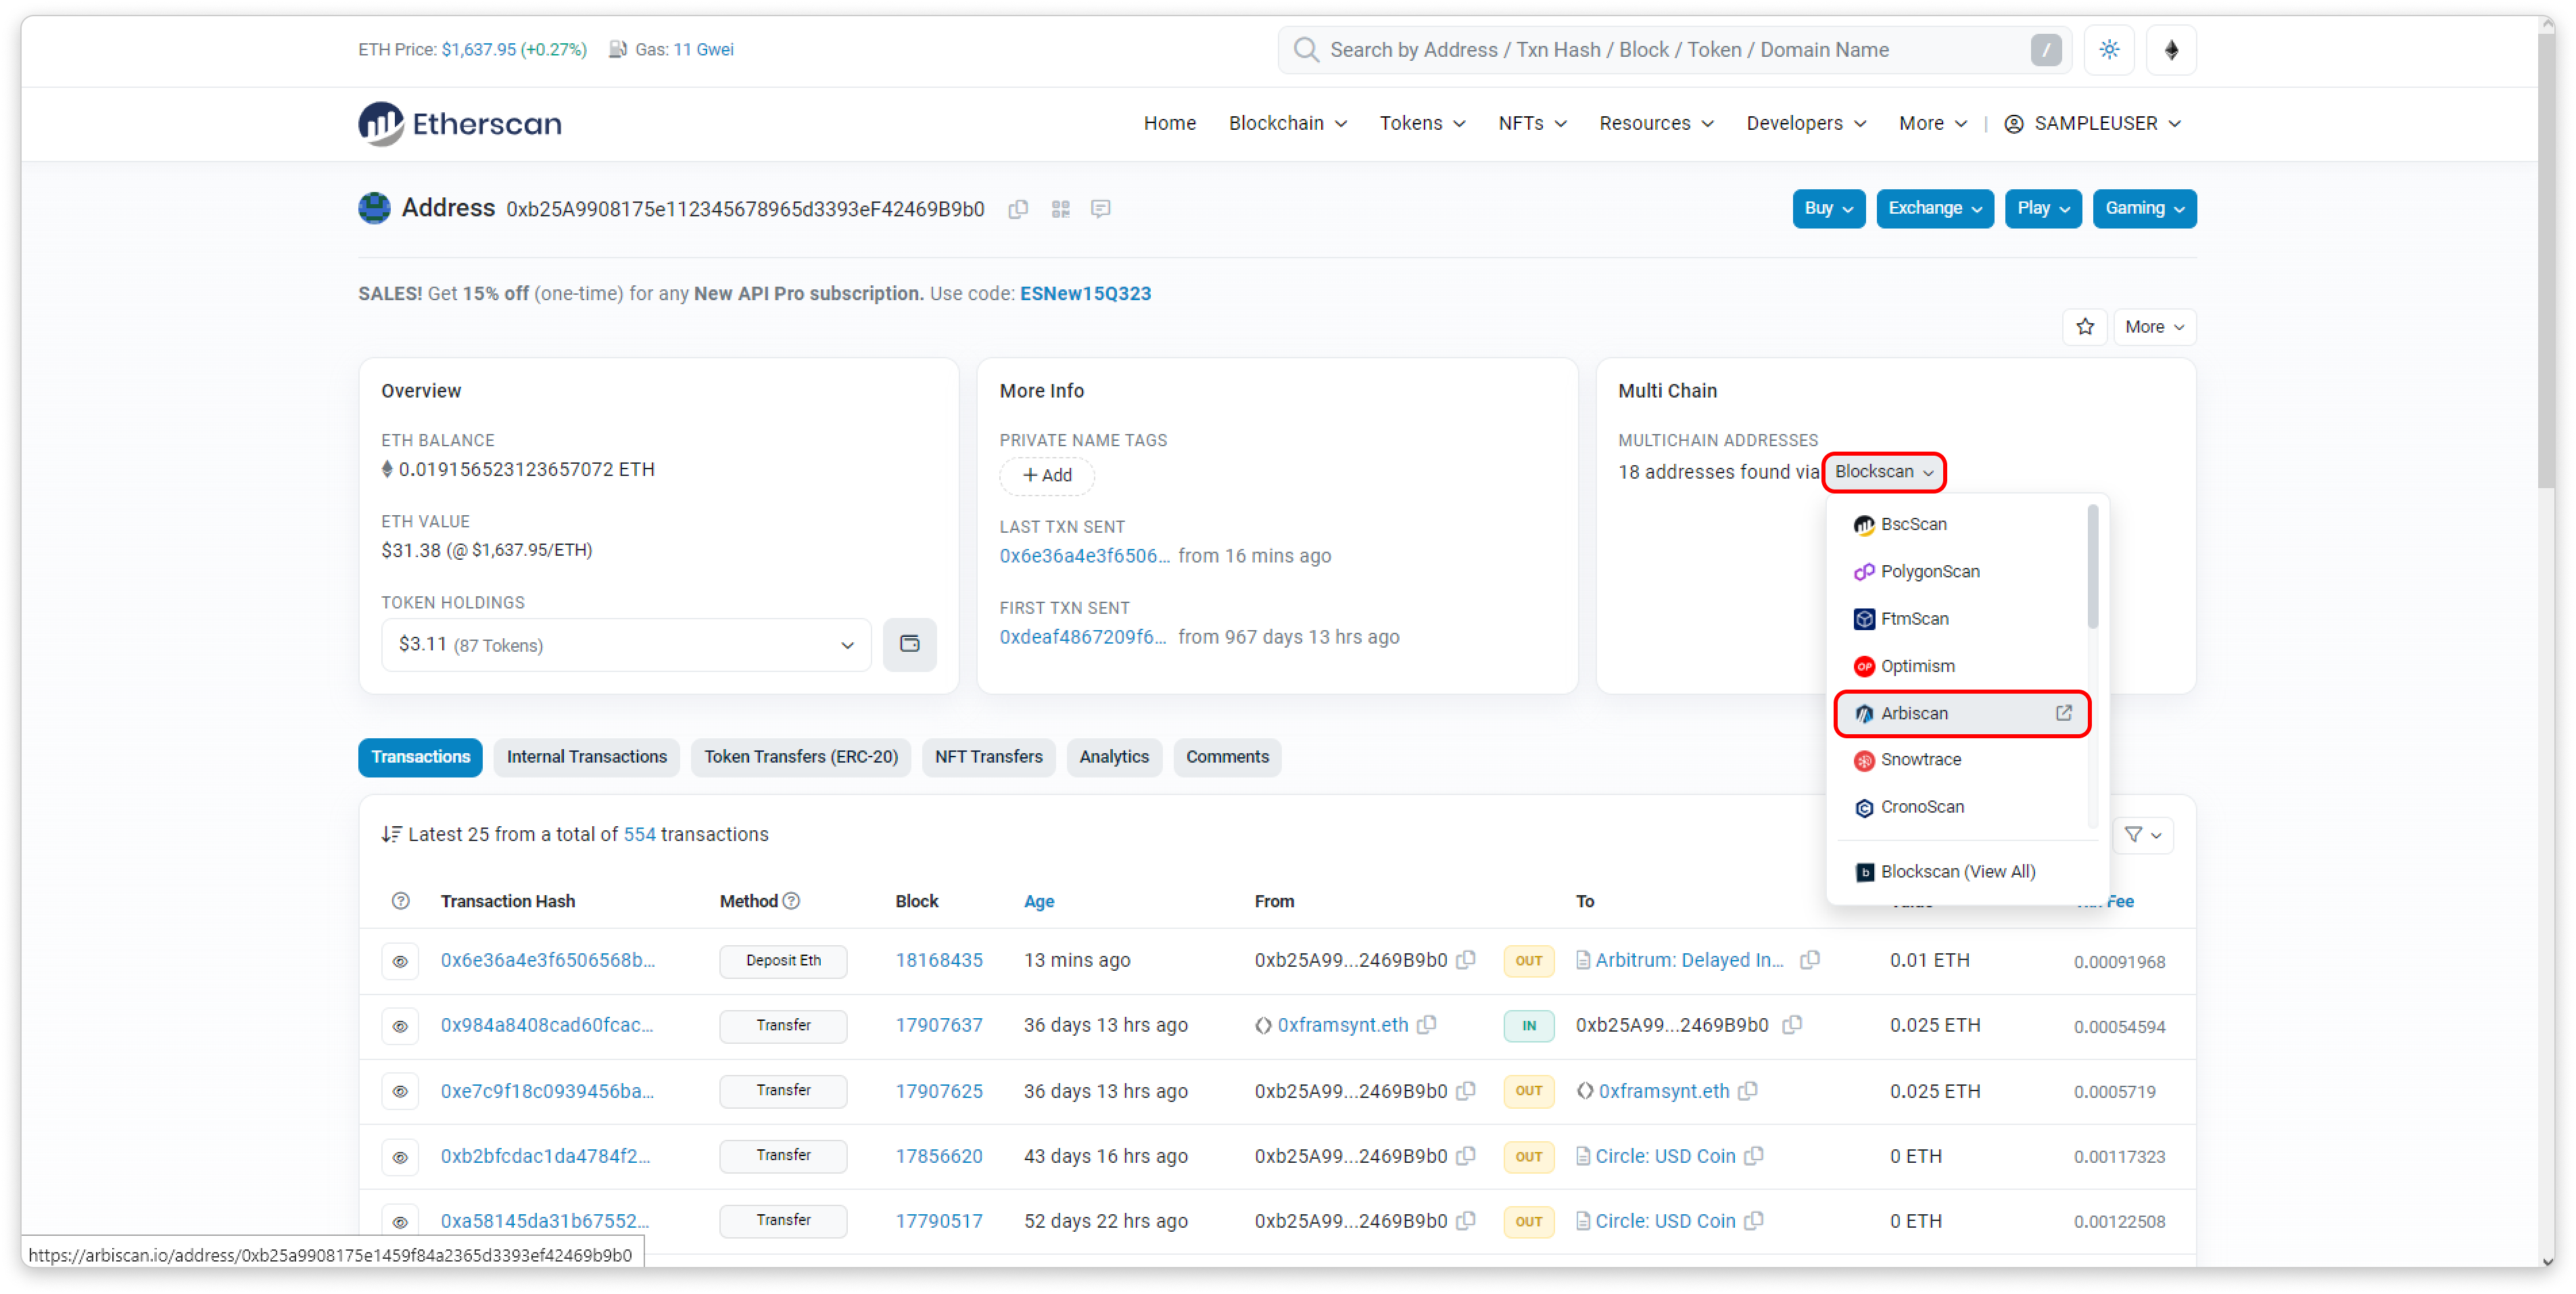
To check if the ETH has reached the Layer 2 network you bridged to, click the Blockscan dropdown menu to access your address on the respective network:
Likewise, clicking on the latest transaction hash allows you to review information about your bridged ETH.