Using the API Service
The Etherscan API empowers you to tap into a treasure trove of information about Ethereum. With the Etherscan API, you can fetch details about transactions, check wallet balances, and token supply — all in a customized way that caters to your specific needs, without the need to juggle multiple Etherscan browser tabs.
For instance, if you aim to monitor ERC-20 token transactions for a particular address, simply call the Get a list of 'ERC-20 - Token Transfer Events' by Address endpoint and customize it to display only the columns that matter to you. Moreover, the values are updated programmatically every second, up to 30 calls per second.
For those new to using APIs, here's a simple guide you can follow to get a feel for integrating API data into Google Sheets:

Setting Up Your Free API Key
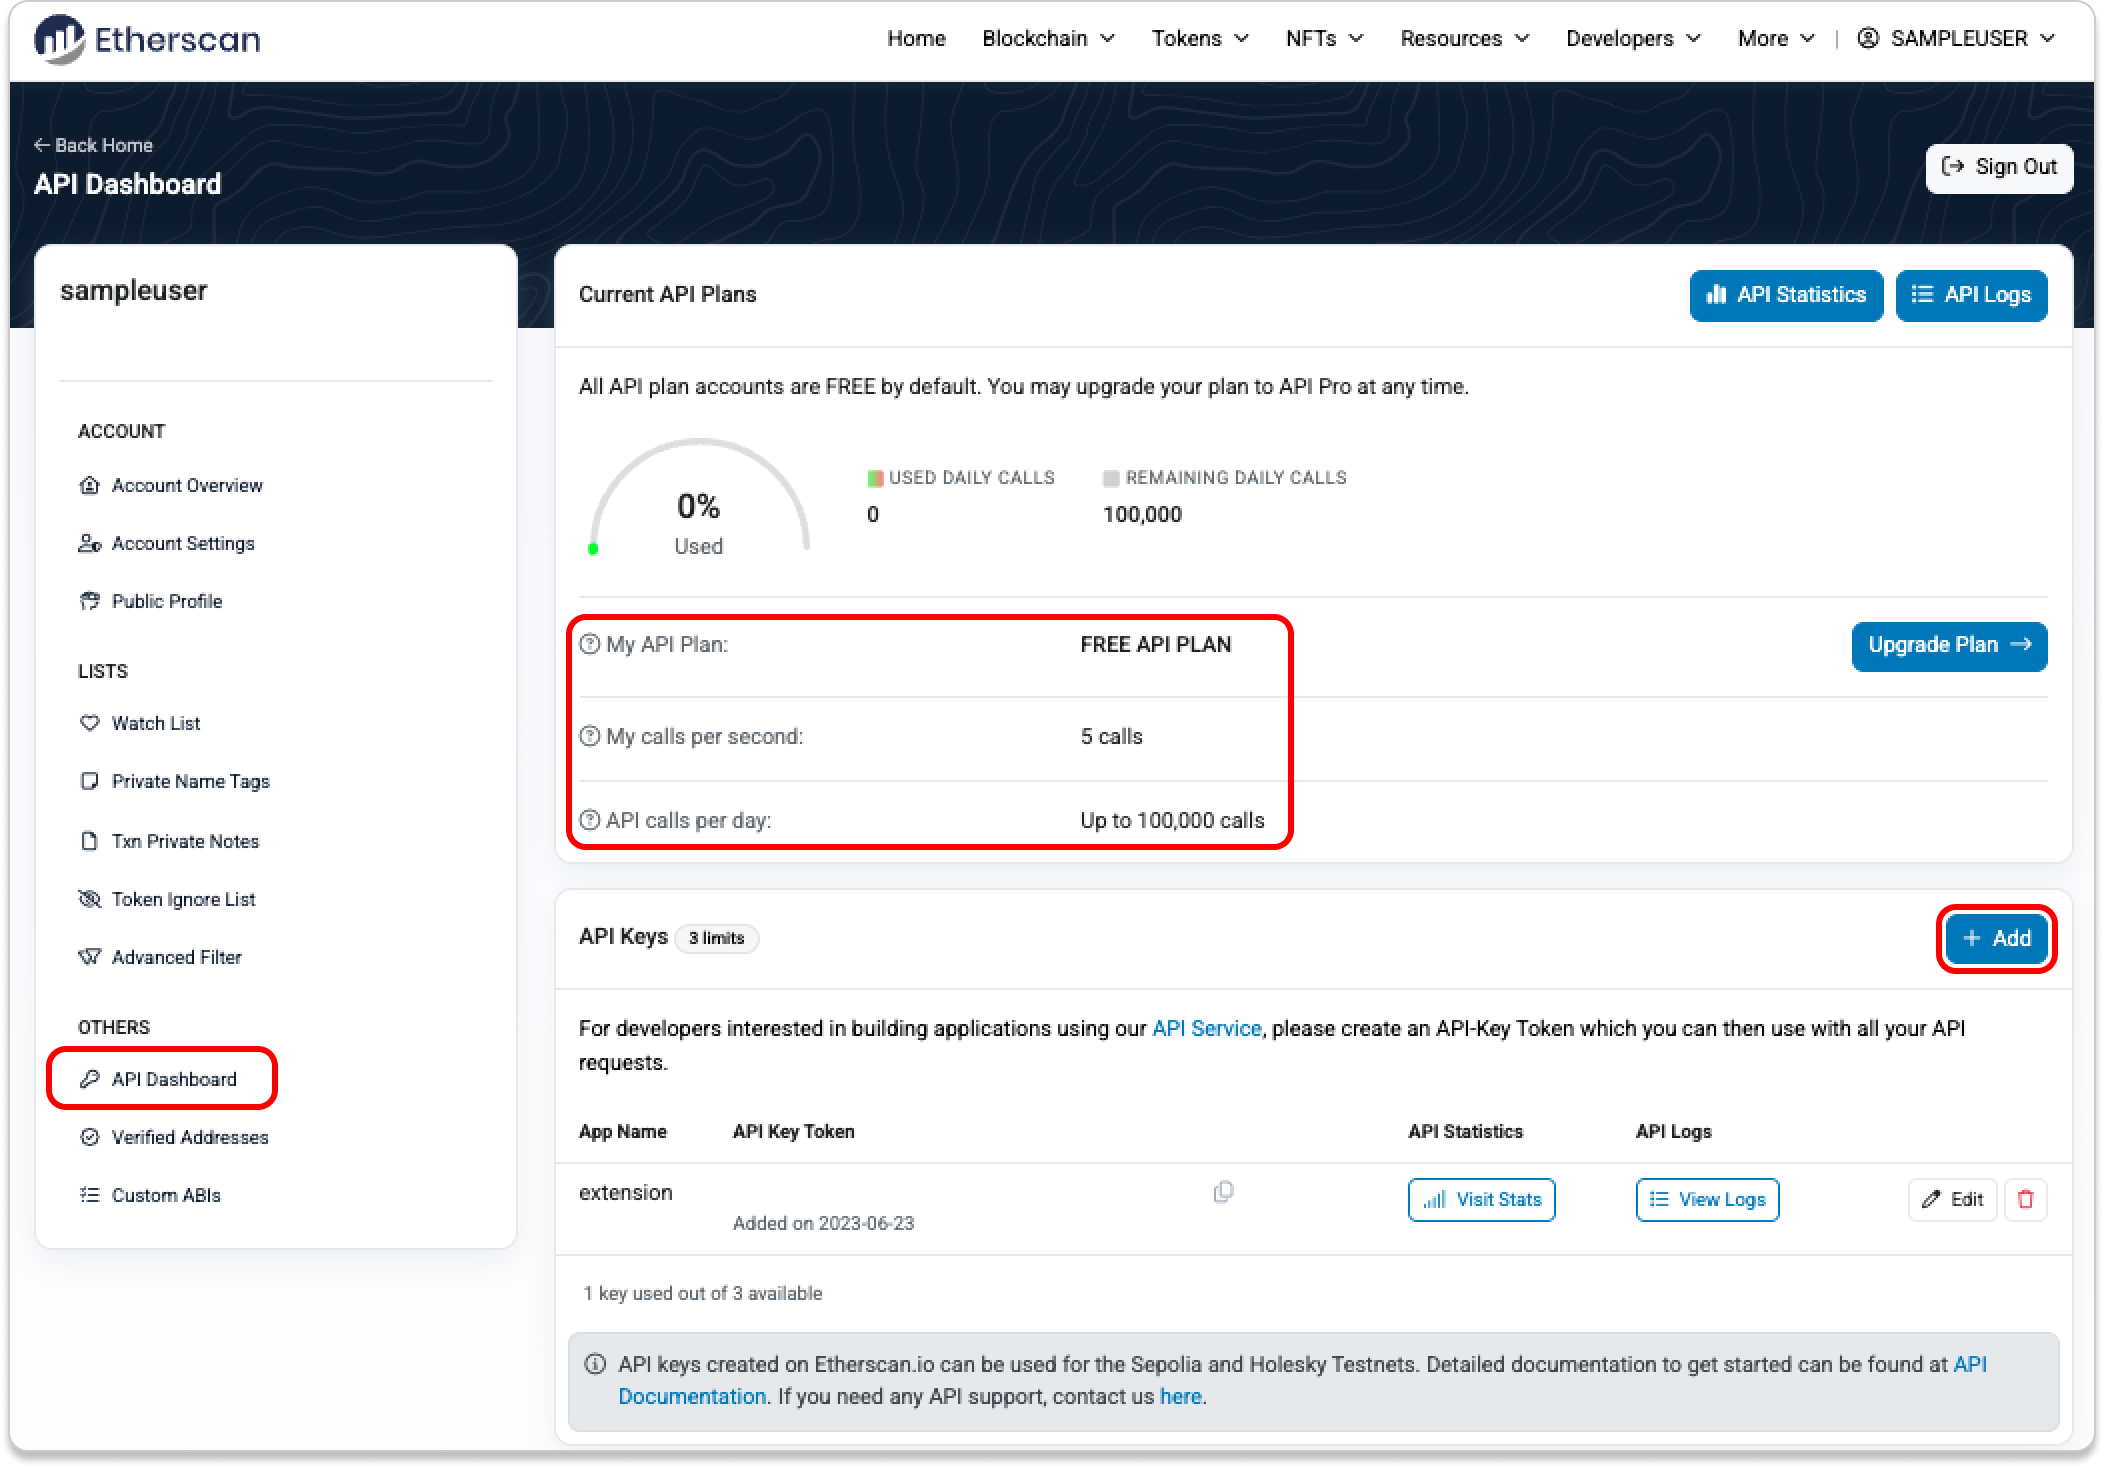
Once logged into your Etherscan account, navigate to etherscan.io/myapikey in your profile. Click on the "+ Add" button to create a new API key.
- Each account is limited to 3 API keys
- Free API keys are limited to 5 calls/second
Once you've created your API key, you can use it to call the free API endpoints and power your dapps with rich data.
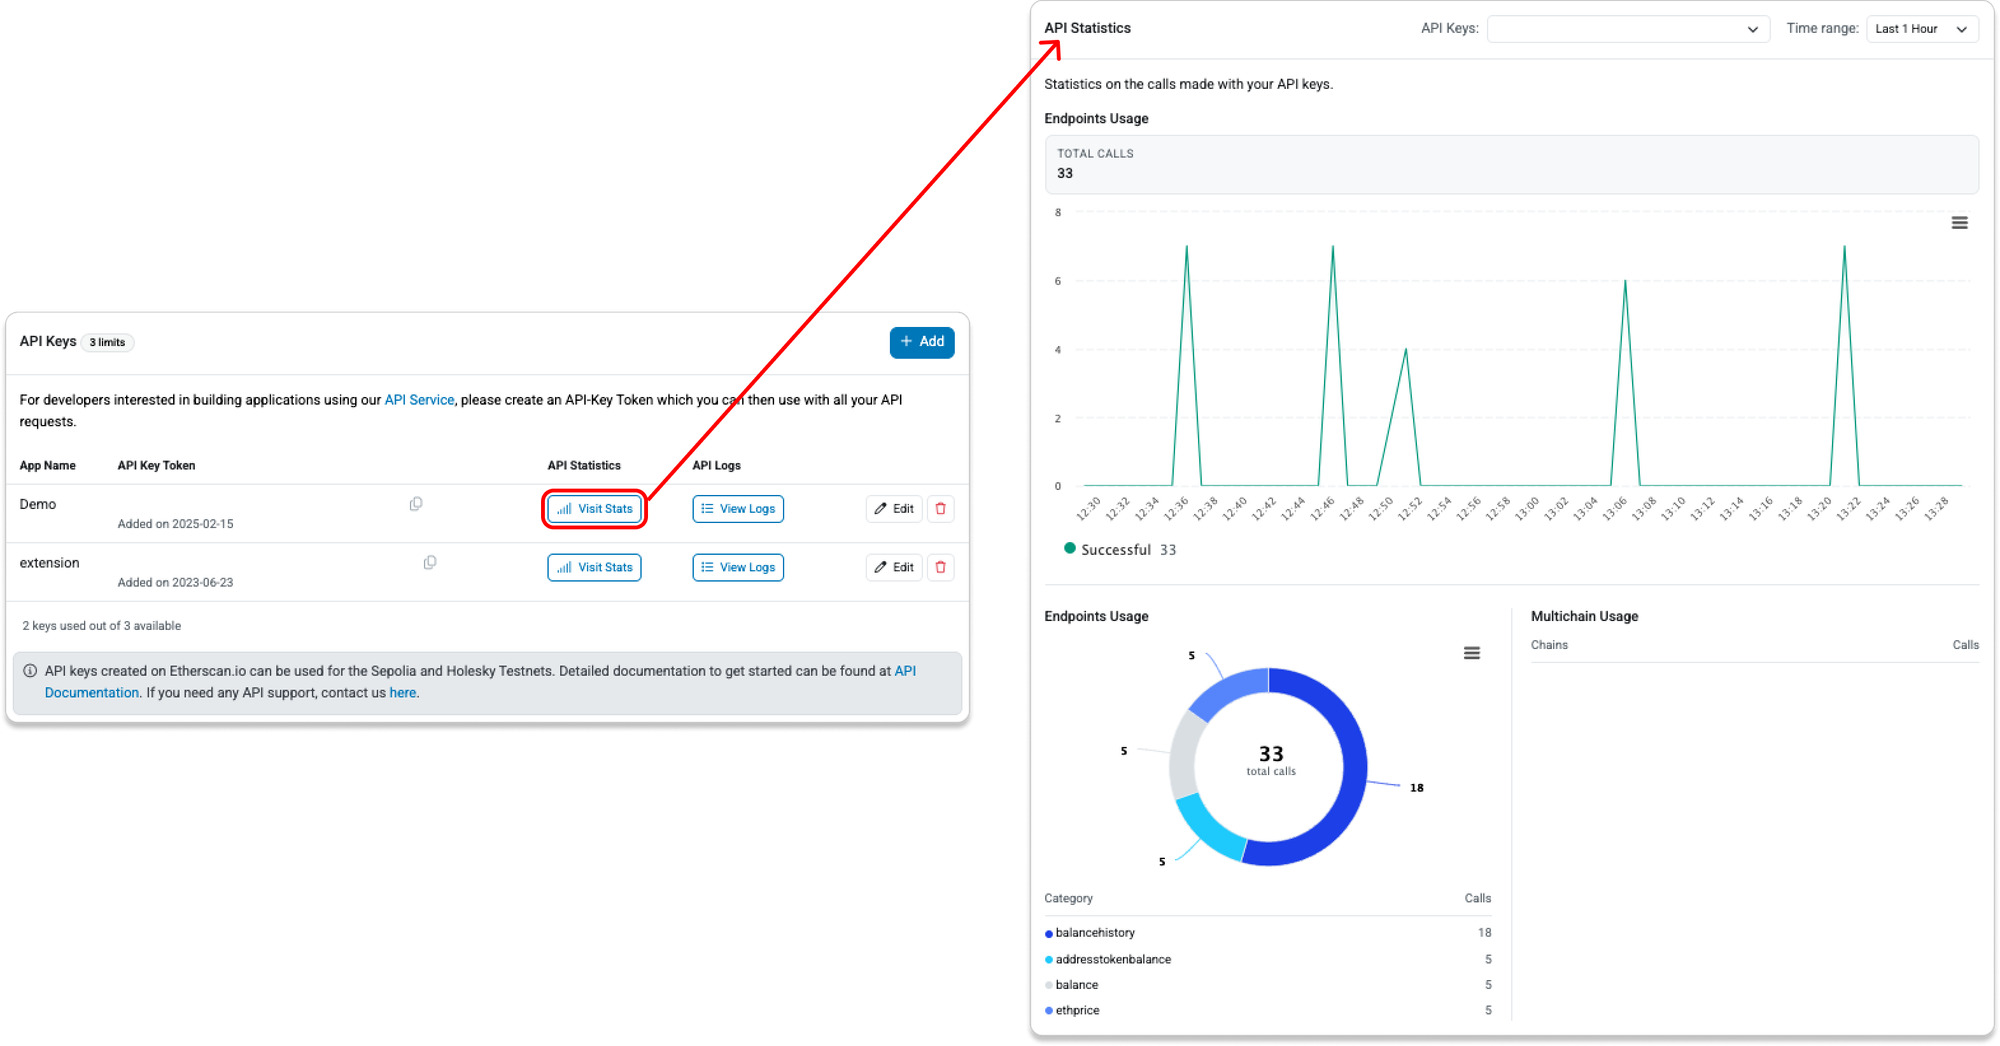
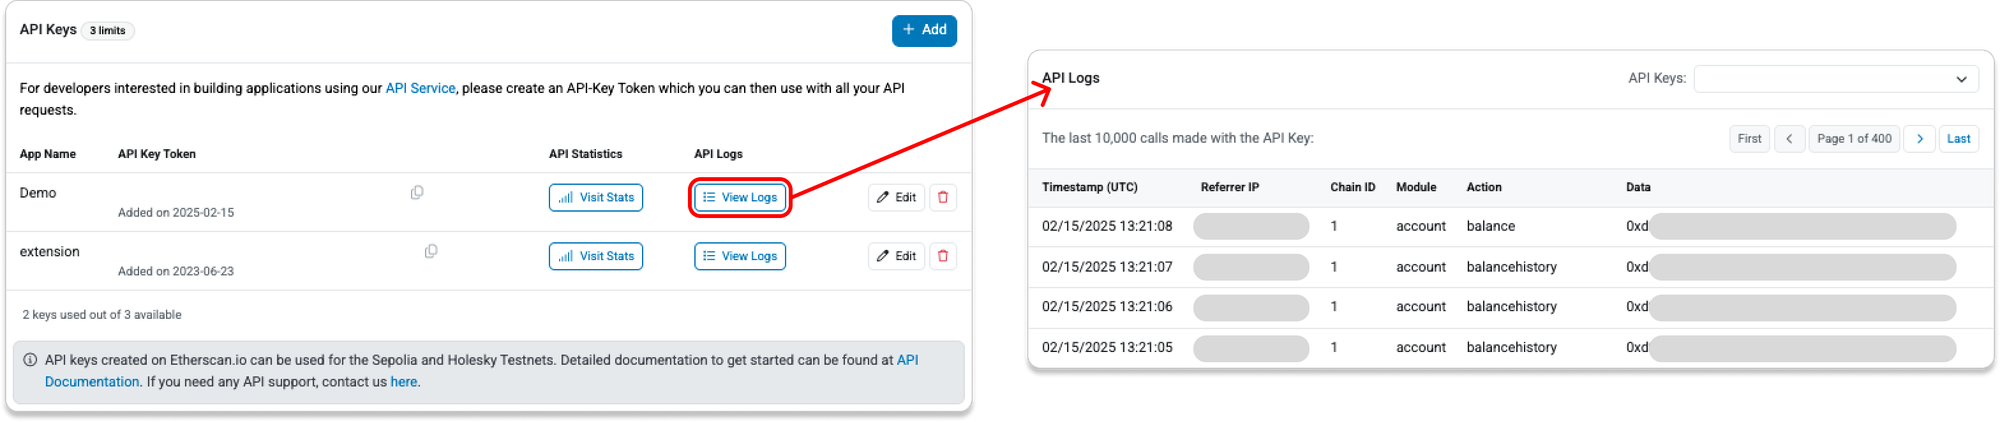
You can also view your API usage statistics, including a breakdown of the module and action called using a particular API key:
- Source attribution via a link back or mention that your app is "Powered by Etherscan.io APIs" is required except for personal/private usage.
- Refer here for API key rate limit & expected error returns.
API Pro Subscription
With an API Pro subscription, you have access to much richer onchain data and higher call limits. For example, you could:
- Get Address ERC-20 Token Holding
- Get Historical ERC-20-Token Account Balance for TokenContractAddress by BlockNo
Learn more:
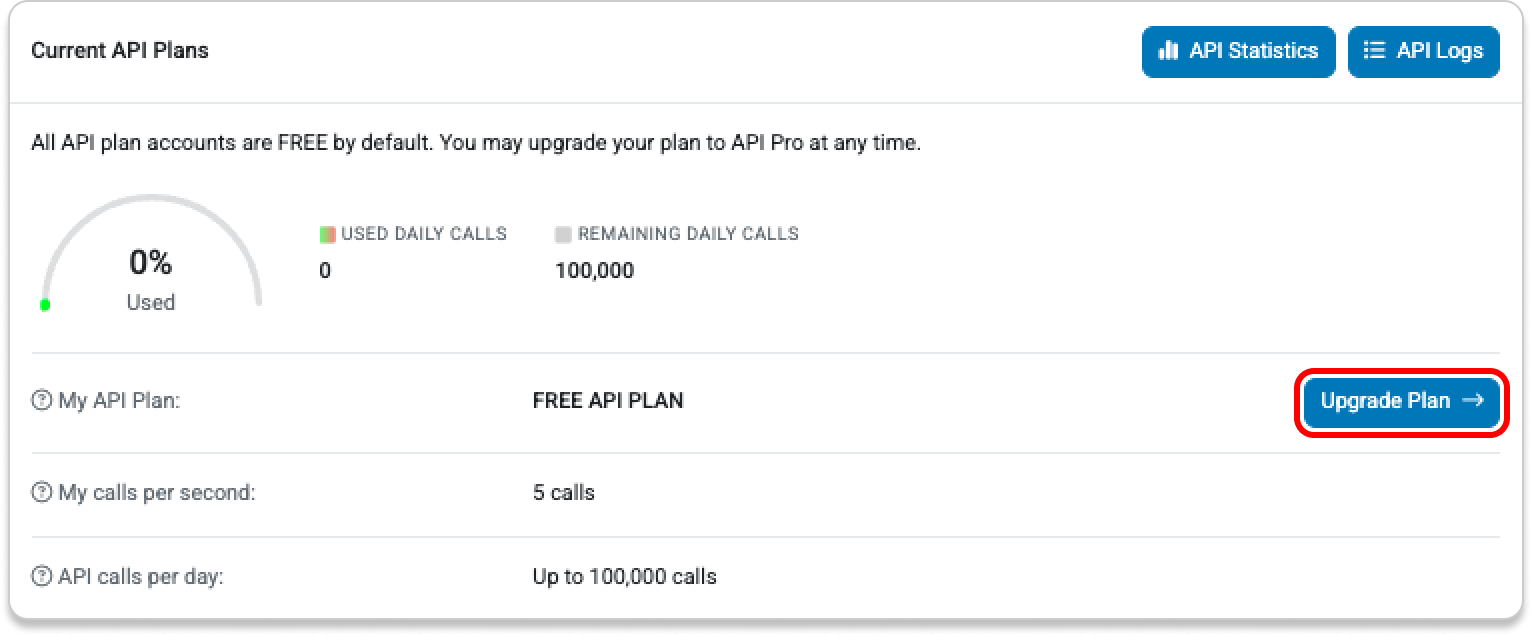
Interested to Upgrade your API plan? Here's how:
- Simply click on "Upgrade Plan ->" or head to etherscan.io/apis and choose a plan that suits your needs (an annual subscription saves you more!).
- Then, on the checkout page, you can confirm the total amount you need to pay. Optionally, you can apply a promotion code.
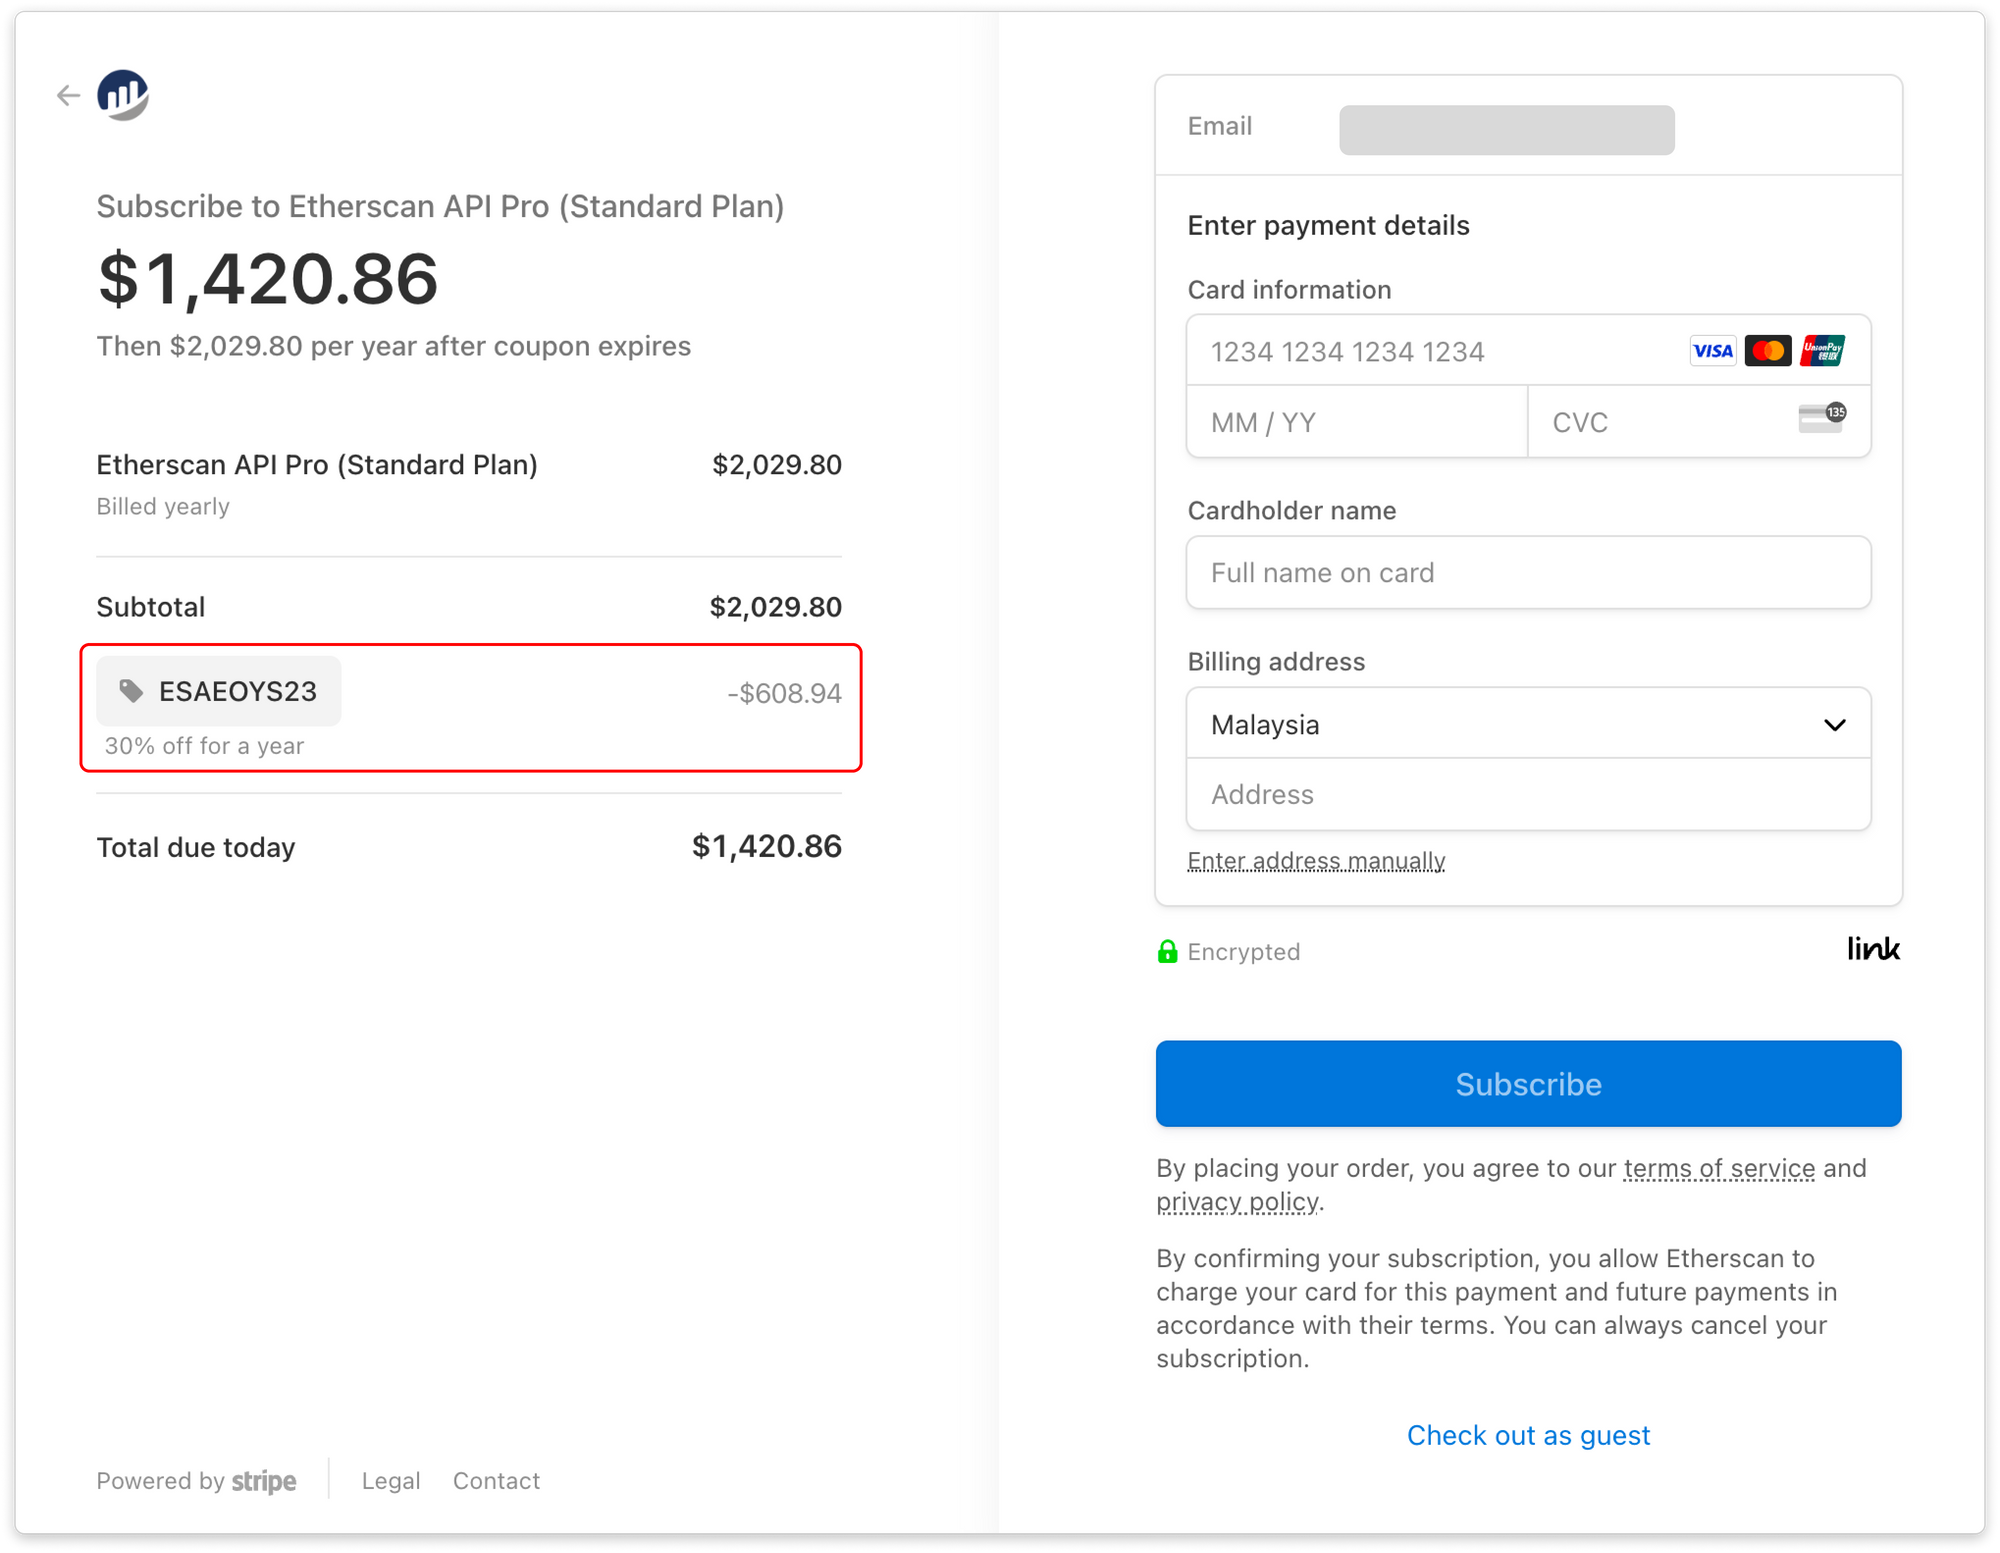
- Then, depending on your card provider, a pop-up window will appear for you to confirm this payment.
*Please make sure not to close the browser after payment. The system will prompt a form for you to provide a registered username and email after payment is successful.

- Once you're satisfied with your purchase, you'll see your plan summary on your dashboard, including the next renewal date.
Here, you can manage your plan, including adding payment methods, upgrading, and cancelling your plan.

Contact Us
If you encounter any issues while setting up your API key or upgrading your API plan, please feel free to contact us!
Frequently Asked Questions
We accept major credit cards that are supported by Stripe.
Payments made are non-refundable and we do not provide refunds or credits for any services already paid for.
API Pro accounts will be activated within 24 hours after username and email has been received.
*Please make sure not to close the browser after payment. The system will prompt a form for you to provide a registered username and email after payment is successful.
Stripe billing is auto-renewed by default. Unless you cancel your subscription plan before your billing date, you authorise us to automatically charge the subscription fee for the next billing cycle to your account.
The billing portal will provide an auto-billing date where information such as a renewal subscription term that will begin automatically after the initial subscription term or another renewal term will be reflected in your account unless you cancel or terminate prior to the commencement of new term.
Kindly contact us should you wish to turn the auto-renewal option off.